 OwnPix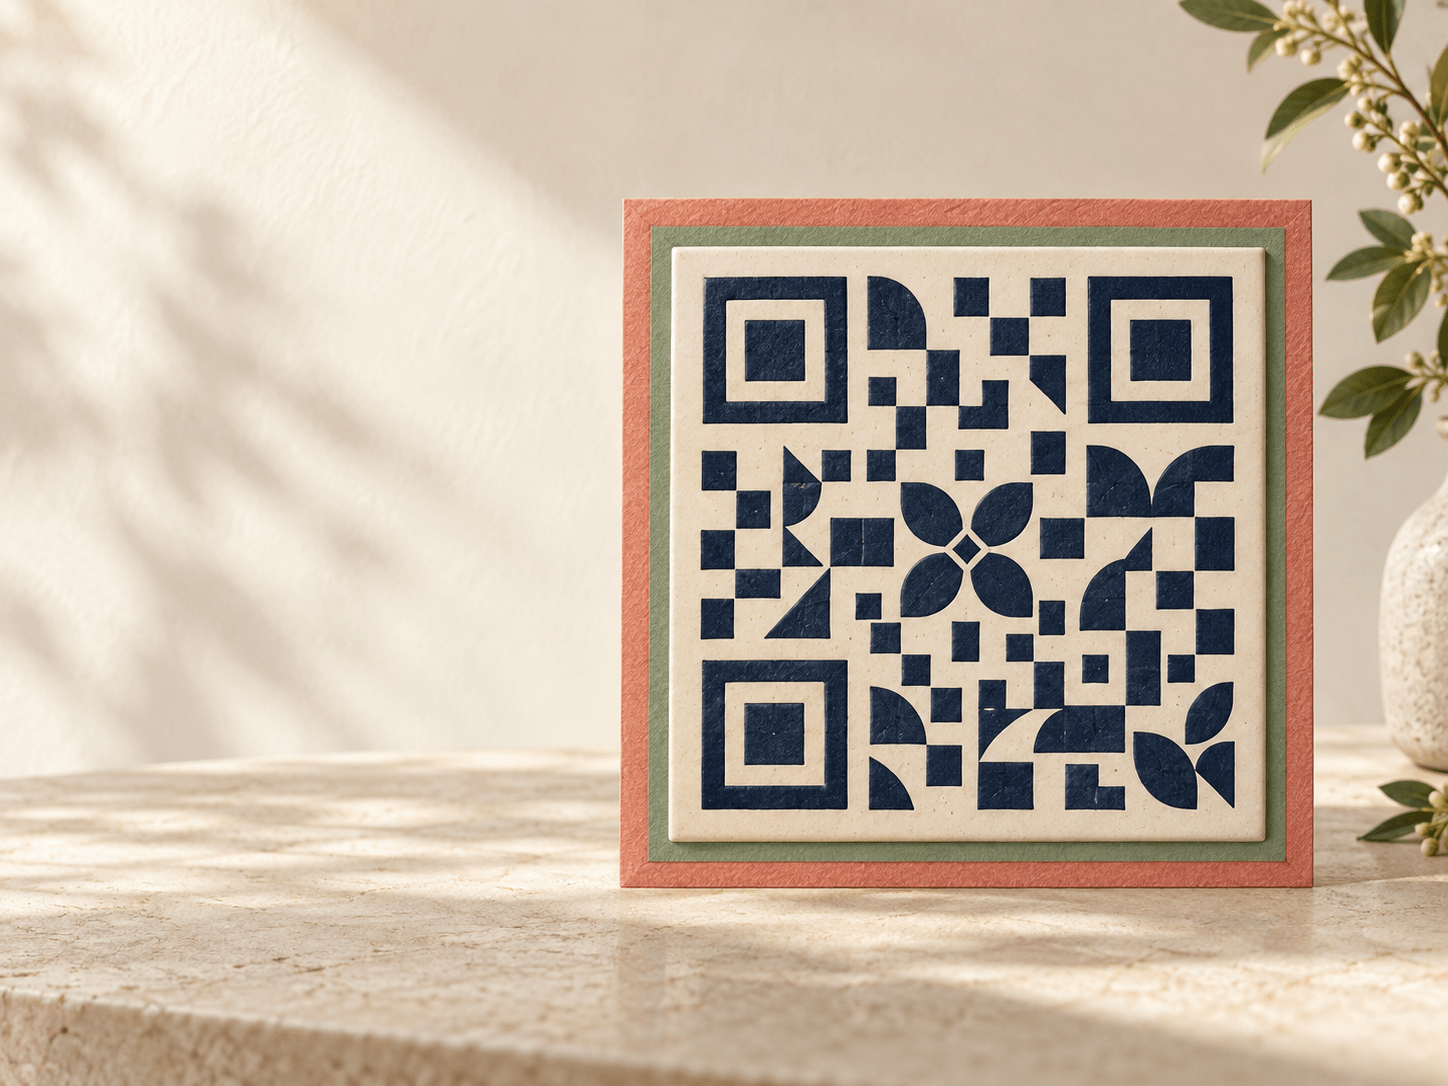
Can I Customize the QR Code to Match My Wedding Theme?
You can make a wedding QR code sign fit your stationery without making it harder to scan. Keep contrast, size, placement, and testing ahead of decoration.
Oct 11, 2026 Team OwnPix
TLDR
Yes. You can match a wedding QR code sign to your colours, paper, and stationery as long as the code stays clear enough to scan. Keep the code dark against a light background, leave space around it, and test the final printed version with more than one phone. OwnPix has a QR sticker designer so you can make a sign that looks like part of the day instead of an afterthought.
Create your event
Start with the job the QR code has to do
Your QR code is not a decoration first. It is a shortcut for guests who want to share photos. If somebody cannot scan it in a few seconds, the prettiest sign in the room has missed its job.
That does not mean the sign has to look plain. It means the code needs a quiet area where the camera can read it. Treat the rest of the card, sign, or table frame as the place for your colours and wedding style.
The easiest approach is to make the QR code a clear block in the middle or lower half of a design. Put your names, date, flowers, border, or a short request around it. Keep the centre simple. A guest should be able to point their camera at the sign without looking for where the code begins.
With OwnPix, the code leads guests to one shared event space. The design can feel personal, but the action stays simple: scan, open the event, and add the photos they already took.
Use contrast before colour matching
High contrast makes a QR code easier for phone cameras to read. A dark code on a light solid background is the safest choice. Black on white is familiar for a reason, but navy, dark green, or deep brown can still fit a wedding palette when the background stays pale.
Avoid a light code on a dark background unless you have tested it carefully. Avoid placing it over flowers, textured paper, watercolour washes, or a busy photograph. Those details may look good to the eye but make the small squares harder for a camera to separate.
If your stationery uses soft pastel colours, keep them in the border, heading, or background outside the code. You do not need every part of the sign to carry the same shade. A white or ivory panel around the QR code often makes the whole design look more deliberate.
Do not use metallic foil, glitter, or glossy effects inside the code area. Light reflections can make a working code difficult to scan under reception lighting.
Keep enough empty space around the code
A QR code needs breathing room. The blank border around it is not wasted space. It gives phone cameras a clear edge to recognise.
Do not push names, flowers, arrows, or instructions right up against the code. Keep a visible plain margin on every side. This is especially important if you put the code on a small tent card or label where every millimetre feels valuable.
You can still use a frame. Put the frame outside that clear margin, not through it. A thin border around the whole sign is usually safer than a decorative border directly around the QR code.
Think about the sign from a few steps away. Guests should see one obvious square to scan, then a short explanation of what they will get. If the code blends into the design, simplify the design before you print.
Choose a size people can scan without leaning in
Tiny QR codes are easy to overlook and hard to scan. The right size depends on where you place the sign. A card on a table can be smaller than a sign on a wall, because guests will stand much closer to it.
Make a test print at the same size you plan to use. Put it in the kind of light you expect at the venue. Ask somebody else to scan it without giving them instructions. If they need to move their phone around, step close, or ask which square to use, make the code larger.
For a large room, use more than one sign rather than one oversized sign that everybody has to find. A welcome table, guest book, bar, or photo booth are useful places because guests already stop there. Our guide on sharing the same QR code across wedding invitations explains how to repeat one route without creating separate collections.
The code does not need to be everywhere. One or two well placed signs are usually easier on the eyes and easier for guests to remember.
Match the sign to your stationery, not the code itself
The strongest themed QR signs usually borrow small details from the invitation suite. Use the same paper colour, type style, floral motif, or border shape. You can add a wax-seal look, a simple illustration, or a colour from the table settings outside the scan area.
That gives the sign a clear connection to the rest of the wedding without asking the QR code to do visual work it was never meant to do. The code can remain dark and simple while the sign around it feels like yours.
For example, a garden wedding could use an ivory card with a soft green border and a small leaf illustration in one corner. A modern city wedding might use a clean block layout with dark type and one accent colour. A colourful party can use bright paper behind a plain white QR panel.
The theme should support the sign, not hide its purpose. You are making an invitation to share photos, not a puzzle.
Use a short request beside the code
Guests should know why they are scanning. One direct line is enough: "Share your photos from tonight" or "Add your photos to our wedding album." Long instructions make people pause.
Keep the wording warmer than a technical label. "Scan to upload" works, but it can sound like a task. A sentence about sharing photos tells guests what will happen and why it matters.
You can add a smaller note under the main line if needed, such as "No app download needed" only when that is true for your setup. Do not promise something you have not tested. The clearest sign is one that matches the real guest experience.
If you are worried that people will forget, ask your host, DJ, or a friend to mention the sign once after guests arrive. Pairing a brief reminder with a clear QR sign works better than covering every table with instructions. Our post on getting guests to upload photos instead of forgetting has more ways to keep that request light.
Test the exact print before your wedding day
This is the part worth doing twice. Scan the final printed sign, not only the code on your laptop. Printing can change contrast. Paper texture can soften edges. A code that worked in bright daylight may behave differently in a dim reception room.
Test with more than one phone if you can. Try it from the distance where guests will stand. Test it while the sign is flat on a table and while it is upright in a frame. If your venue allows a visit, test it there.
Check the destination too. The QR code is only useful if it leads to the correct event and the next step makes sense. Create a test event or ask a friend to follow the path without your help. They should be able to tell you what to do after the page opens.
The QR sticker designer makes it easy to create a version to test. Keep the final file with your other print materials so you can replace a sign quickly if it gets damaged.
Do not turn the code into a logo
It is tempting to add initials, a monogram, a photo, or a decorative icon inside the QR pattern. That can make the sign feel branded, but it can also make the code less reliable.
If you want a monogram, put it above the code. If you want a photo, put it on the other side of the sign. If you want a floral frame, keep it outside the clear margin. These choices give you the same personal touch without changing the part guests need to scan.
Keep one plain saved version of the QR code as a backup. If the styled version gives you trouble during testing, you can switch without remaking the whole sign from scratch.
A good default design
Use an ivory or white card. Put a dark QR code in a clean square panel with a clear blank border. Add your names and a short request above it. Use your wedding colour in the card border, heading, or a small illustration. Print one sign for the welcome table and one for the guest book or bar.
That may sound modest. It works because it respects both parts of the job. Guests can scan it quickly, and the sign still looks like it belongs in the room.
OwnPix is there to collect the photos after the scan. The sign only needs to make that first step feel easy.
Frequently asked questions
Yes, but keep a dark code on a light solid background and test the final print. Put accent colours around the code rather than inside it.
Yes. Keep flowers and other decoration outside the clear blank margin around the code.
Print it at its final size and scan it with more than one phone in similar lighting to your venue.
Use places where guests naturally pause, such as the welcome table, guest book, bar, or photo booth.
Create your event